Quick Answer
A monitor stand lifts your screen to eye level, reduces neck strain, and can transform your workspace. The best options depend on your budget and desk setup. For most people, the ASUS PA148CTC CHECK PRICE] offers excellent value with built-in portability, while the [Fellowes Premium Monitor Riser CHECK PRICE] delivers ergonomic storage solutions at a mid-range price. If you want premium features, the [Herman Miller Flo Monitor Arm [CHECK PRICE] combines adjustability with modern design.
—
What to Look for in a Monitor Stand
Before you buy, here’s what actually matters when choosing a monitor stand:
Height Adjustment Range
Your monitor should sit with the top of the screen at or slightly below eye level when you’re sitting up straight. Most people need at least 4-6 inches of height adjustment. If you’re taller or shorter than average, look for stands that offer more range—some premium models adjust up to 10+ inches.
Weight Capacity
This sounds obvious, but verify the stand can support your monitor’s weight plus any additional equipment (ring lights, cameras, etc.). Most quality stands handle 15-30 lbs comfortably, but check your monitor’s weight in the manual first.
Desk Space & Footprint
Monitor stands come in different sizes. A tall, narrow stand takes minimal desk space, while a wider riser platform can provide storage underneath. Consider what else you need on your desk—keyboard, mouse, documents.
Stability
Wobbling monitors are annoying and potentially unsafe. Heavier stands with wider bases offer better stability, especially if you tend to bump your desk or work near vibrations (HVAC units, etc.).
Material Quality
Plastic works fine for budget models, but metal and solid wood feel more durable long-term. Premium stands often use aluminum or steel frames that won’t sag over years of use.
Cable Management
Stands with built-in cable clips or routing channels keep your workspace cleaner and make adjustments easier. This is a small feature that saves real frustration.
—
Best Monitor Stands for Ergonomics & Posture
If you spend 8+ hours daily at your desk, ergonomics aren’t optional—they’re essential for preventing neck pain, shoulder tension, and eye strain.
Top Ergonomic Pick: Herman Miller Flo Monitor Arm
The Herman Miller Flo Monitor Arm [CHECK PRICE] is designed by one of the world’s leading ergonomics companies. This is a full articulating arm, not a simple riser, which means you can adjust it in multiple directions.
Key features:
– Full 360° rotation and tilt adjustment
– Smooth motion requires minimal force
– Supports up to 18 lbs
– VESA mounting (compatible with most monitors)
– Premium aluminum construction
Why it matters for ergonomics: The Flo lets you position your monitor exactly where your eyes naturally focus, reducing head rotation. Some users find traditional stands too static—this arm adapts throughout the day as your posture shifts.
Pros:
– Incredibly smooth adjustment mechanism
– Beautiful design that doesn’t look like office equipment
– Frees up significant desk space
– Works for standing and sitting desks
Cons:
– Premium price point [CHECK PRICE]
– Requires VESA mounting (older monitors may need an adapter)
– Steeper learning curve for adjustment
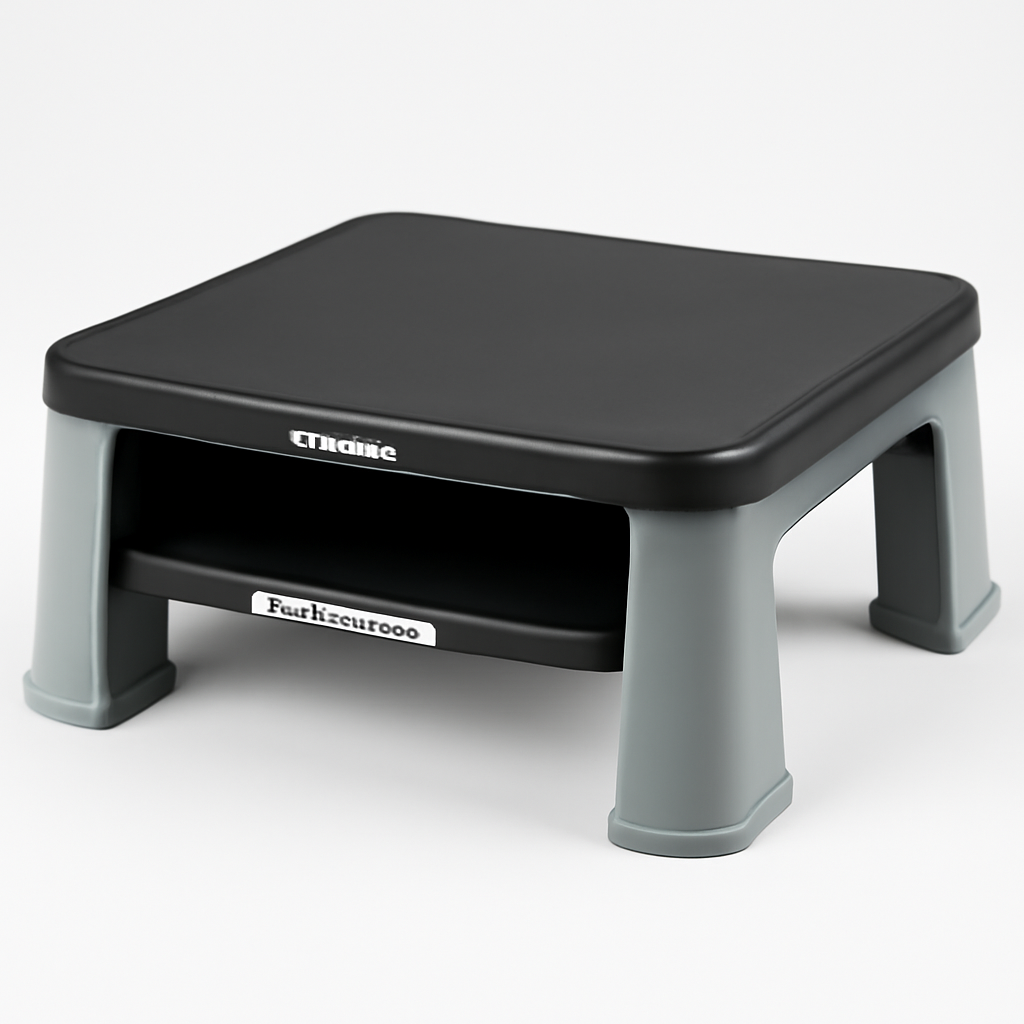
Runner-Up: Fellowes Premium Monitor Riser
The Fellowes Premium Monitor Riser [CHECK PRICE] is a fixed-height platform with smart storage built-in. While less adjustable than the Herman Miller, it’s specifically engineered for desk ergonomics.
Key features:
– Promotes proper monitor height for seated work
– Includes a storage shelf underneath (great for keyboard/mouse storage)
– Supports up to 25 lbs
– Simple non-adjustable design
– Available in multiple widths
Why it matters for ergonomics: The fixed height is calculated based on average desk and chair dimensions. If you rarely adjust your setup, the simplicity is an advantage—no fumbling with knobs. The underneath storage is a clever use of space that encourages proper desk organization.
Pros:
– Affordable compared to articulating arms
– Built-in storage reduces clutter
– Easy to set up (literally just place on desk)
– Great for multi-monitor setups
Cons:
– No height adjustment if your chair changes
– Takes up moderate desk real estate
– Limited to non-adjustable positioning
—
Top Budget-Friendly Monitor Stand Options
You don’t need to spend $300+ to fix your monitor height. These options deliver real value:
Best Budget Option: Basic Riser Stand
Simple solid-color risers from various manufacturers [CHECK PRICE] handle the core job well. Look for:
– Solid construction (even plastic ones can be sturdy)
– Weight capacity matching your monitor
– At least 3-4 inches of height boost
– Slip-resistant feet
When to choose this: If you have limited budget and your monitor is already reasonably close to eye level, a basic riser just needs to close a small gap.
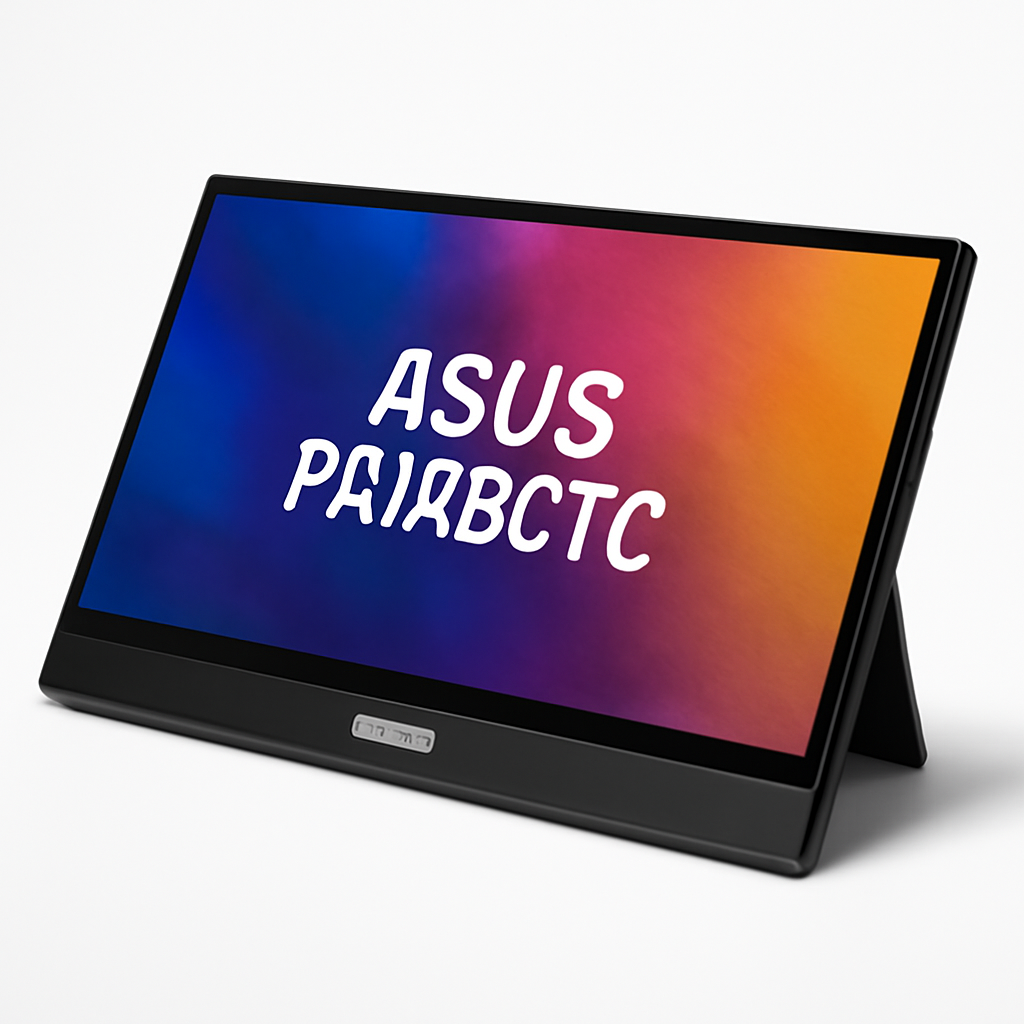
Mid-Budget Sweet Spot: ASUS PA148CTC
The ASUS PA148CTC [CHECK PRICE] is actually a portable monitor, but it works brilliantly as a monitor stand solution because it includes an integrated stand.
Why it’s cost-effective:
– You’re getting dual functionality (it works as a standalone display too)
– The stand itself is solid and adjustable
– Includes full cable management
– Value per feature is hard to beat
Best for: People considering a second monitor or upgrade. You’re not just buying a stand—you’re buying display flexibility.
—
Premium Monitor Stands with Advanced Features
Sometimes the extra investment is worth it. Here’s what you get at the high end:
Full-Featured Articulating Arm
Premium monitor arms like the Herman Miller Flo [CHECK PRICE] represent the top tier. You’re paying for:
– Smooth, gas-spring assisted movement
– Multi-axis adjustment (height, tilt, rotation, depth)
– Minimal desk footprint
– Lifespan of 10+ years
– Premium materials
Other premium arms worth considering:
– Autonomous Monitor Arm Pro [CHECK PRICE] — Great for motorized standing desks, heavy-duty support
– BenQ e-Reading Lamp Monitor Arm [CHECK PRICE] — Integrates task lighting (useful if you can’t install overhead lights)
Advanced Features You’re Actually Using
When considering premium stands, ask: “Will I actually use this?”
– Motorized height adjustment: Helpful for standing/sitting desk users who change position multiple times daily
– Monitor cable clips: Nice to have, but not worth extra cost alone
– Built-in USB hubs: Some premium stands include pass-through charging and USB ports
– Integrated lighting: Only worth it if your current desk lighting is genuinely inadequate
—
Monitor Stands for Different Desk Setups
Single Monitor, Traditional Desk
Best approach: A simple elevated stand or arm. Your goal is getting the screen to eye level without excess complexity.
Recommended: Fellowes Premium Monitor Riser [CHECK PRICE] or a basic VESA-mounted arm if you want adjustability.
Why: Single-monitor setups don’t require heavy-duty equipment. A stable platform or simple arm does everything you need.
Dual Monitor Setup
Best approach: Either two separate risers (one per monitor) or a dual-monitor arm.
Key consideration: Dual arms take up less desk space but cost more and require careful balancing. Two separate risers are easier to adjust individually.
Space-saving tip: Use a riser on one monitor and an arm on the other for flexibility without excessive footprint.
Small/Compact Desk
Best approach: A tall, narrow monitor arm with minimal base footprint.
Why simple risers fail here: They take up horizontal desk space you can’t afford to lose.
Recommended: Herman Miller Flo Monitor Arm [CHECK PRICE] — The clamp mount uses zero desk surface.
Standing Desk or Hybrid Setup
Best approach: An articulating arm with smooth adjustment, or a motorized riser that moves with your desk.
Key requirement: Whatever you choose must adjust smoothly. Fixed-height risers become problematic if you alternate between sitting and standing throughout the day.
Recommended: Autonomous Monitor Arm Pro [CHECK PRICE] or any full VESA-mounted articulating arm.
Corner Desk or L-Shaped Setup
Best approach: Separate stands/arms for each monitor section, or a corner-specific dual-monitor mount.
Advantage of separate stands: Each monitor adjusts independently, accounting for different viewing angles from your corner position.
—
How to Install and Adjust Your Monitor Stand
Most monitor stands take 5-15 minutes to set up. Here’s the process:
For Simple Risers
1. Clear your desk of monitor and surrounding items
2. Place the riser in your desired location
3. Carefully set your monitor on top, centered
4. Route cables through any clips or channels
5. Test stability by gently pushing from different angles
That’s it. No tools required for most models.
For VESA-Mounted Arms
1. Locate VESA holes on the back of your monitor (usually a square pattern of 4 holes)
2. Attach the mounting plate using the provided bolts (hand-tight is fine)
3. Connect the mounting plate to the arm using the connector bracket
4. Mount the arm base to your desk using either clamp or bolt-down method
5. Adjust counterweight or gas spring so the monitor holds position without drifting
6. Fine-tune height, tilt, and rotation to your preference
Finding Your Ideal Height
Once installed, adjust so:
– Top of screen is at or slightly below eye level when sitting naturally
– Your eyes naturally focus on the center of the screen (roughly 15-20° downward gaze)
– No head rotation required to see the entire screen
– You can rest your shoulders—if they’re hunched, the monitor is still too low
Common mistake: Positioning the monitor too high. People often think they want to look straight ahead, but slight downward gaze is more natural and reduces neck strain.
Cable Management Tips
– Use velcro cable ties (reusable, don’t damage cables)
– Route cables behind or through the stand
– Keep power cord separate from data cables
– Label cables if you have multiple monitors or devices
– Leave 2-3 inches of slack so adjustments don’t stress connectors
—
Monitor Stand Alternatives Worth Considering
Full Monitor Arm Systems
If a simple stand feels limiting, monitor arms might be better:
When to choose an arm instead:
– You adjust your monitor position multiple times per day
– You want to swap monitors or move them between desks
– You’re willing to spend more for flexibility
Advantage over risers: More adjustment options, cleaner desk space, more professional appearance.
Disadvantage: More complex to install, higher cost, requires VESA mounting.
Wall-Mounted Brackets
Mounting your monitor directly to a wall frees up all desk space.
When this works:
– Dedicated workspace (you won’t move the monitor)
– Wall space directly behind your desk
– You don’t mind running cables down the wall
When this doesn’t work:
– Renters who can’t drill into walls
– People who switch between multiple desks
– You need flexibility in positioning
Monitor Stands with Integrated Storage
Some risers include shelving, drawers, or cable management compartments built-in.
Best for: Desks lacking storage space, or workspaces where you need quick access to pens, notepads, or small equipment.
Trade-off: Less adjustability, takes up more horizontal space.
Standing Desk Converters + Standalone Monitors
Instead of upgrading your monitor stand, some people upgrade their entire desk setup with a standing desk converter. This doesn’t replace a monitor stand—you’d still use one of the options above.
Why people consider this: If you’re spending 8 hours daily at your desk, overall ergonomics (including the ability to stand) matter more than monitor height alone.
—
Comparison Table: Top Monitor Stands
| Product | Best For | Price Range | Key Benefit |
| Herman Miller Flo Monitor Arm | Ergonomics + flexibility | [CHECK PRICE] | Smooth multi-axis adjustment |
| Fellowes Premium Monitor Riser | Budget + storage | [CHECK PRICE] | Built-in shelf, ergonomic height |
| ASUS PA148CTC | Dual functionality | [CHECK PRICE] | Monitor + stand in one |
| Autonomous Monitor Arm Pro | Standing desks | [CHECK PRICE] | Heavy-duty, motorized option |
| Basic Riser Stand | Tight budget | [CHECK PRICE] | Simple, effective, affordable |
—
Our Verdict
The best monitor stand depends on your actual setup and budget, but here’s how to decide:
Choose the Fellowes Premium Monitor Riser [CHECK PRICE] if:
– You want ergonomic improvement without spending heavily
– You need some extra desk storage
– Your monitor is already close to correct height (just needs a boost)
– You rarely adjust your workspace
Choose the Herman Miller Flo Monitor Arm [CHECK PRICE] if:
– You adjust your monitor position frequently
– You want the best possible ergonomic flexibility
– Desk aesthetics matter to you
– You work at the same desk for years (good ROI)
Choose the ASUS PA148CTC [CHECK PRICE] if:
– You’ve been considering a second monitor anyway
– You want dual functionality from one product
– You value portability
Choose a basic riser [CHECK PRICE] if:
– Your budget is very tight
– Your monitor just needs a height boost to reach eye level
– Simplicity is your priority
The bottom line: A good monitor stand costs $50-300 depending on features. Even the cheapest option beats no stand at all. If your neck hurts at the end of the workday, your monitor is probably too low—spend the money on fixing it. Your spine will thank you for years to come.