Quick Answer: If you’re new to camping, your best bet is a 3-season, freestanding dome tent rated for 1-2 more people than your actual group size, with a simple two-pole setup and a full-coverage rainfly. For most first-timers in 2026, the Coleman Sundome and the REI Co-op Trail Hut 4 hit the sweet spot of easy setup, weather protection, and price. Spend a little extra on ease of setup and waterproofing — that’s where beginners feel the difference most.
Buying your first tent is intimidating. There are hundreds of options, confusing jargon (“3-season,” “denier,” “vestibule”), and a huge price range. The good news: you don’t need an expensive expedition tent to have a great first trip. You need something that goes up fast, keeps you dry, and doesn’t break the bank. This guide walks you through exactly what matters — and what doesn’t — so you can buy with confidence.
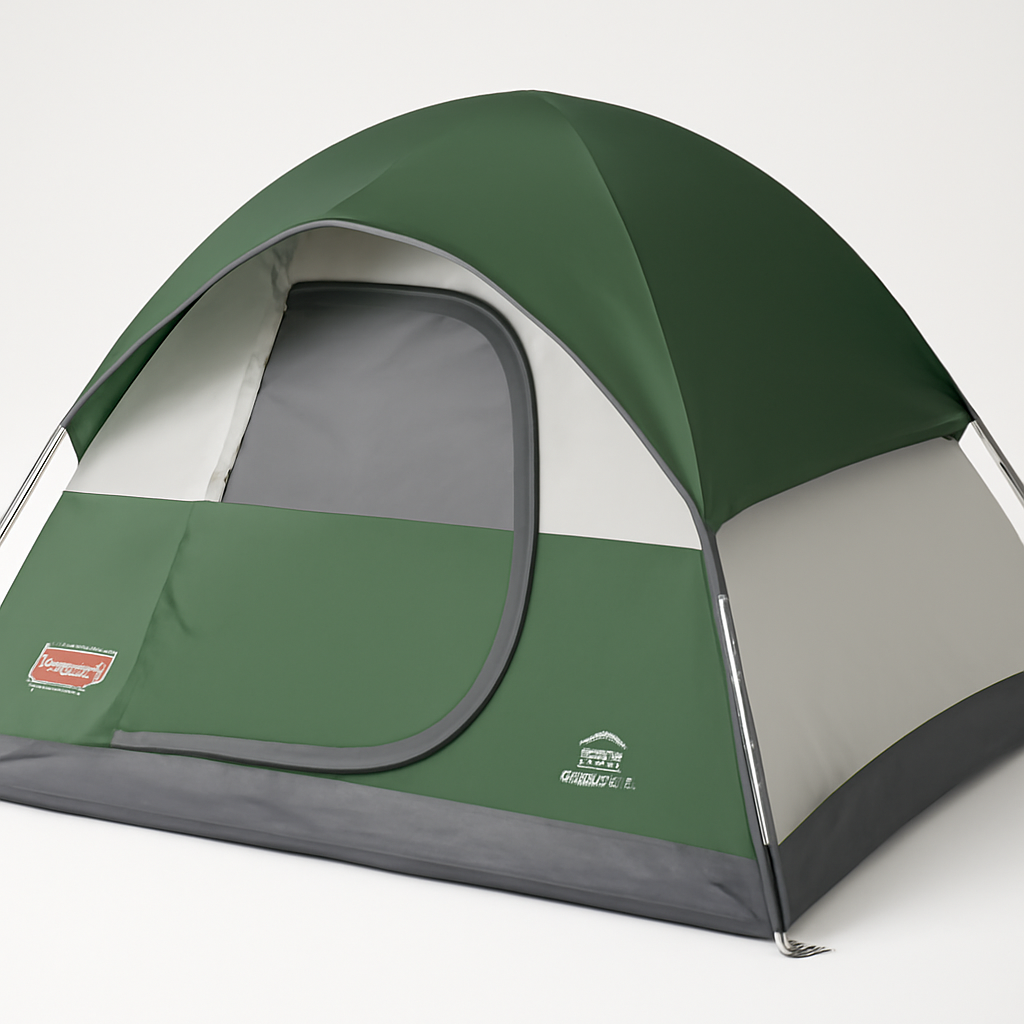
What to Look for in a Beginner Camping Tent
When you strip away the marketing, a good beginner tent comes down to five things:
– Easy setup — Ideally two poles, color-coded, freestanding. You want to pitch it in under 10 minutes, even in fading light.
– Weather protection — A full-coverage rainfly and a bathtub-style floor that keeps groundwater out.
– Right size — Enough room to sleep comfortably and stash your gear out of the rain.
– Durability — Materials that survive a few seasons of normal car-camping abuse.
– Value — A reasonable price for what you’re getting, without paying for ultralight features you don’t need yet.
Here’s the key mindset shift: as a beginner, you’re almost certainly car camping — driving to a campsite and pitching your tent a short walk from your vehicle. That means weight barely matters. Don’t pay a premium for a 2-pound ultralight backpacking tent. Spend that money on space and ease of use instead.
Tent Capacity and Size: How Many People Will It Sleep?
Tent capacity ratings are optimistic. A “2-person” tent technically fits two sleeping pads side by side — with zero room for gear, elbows, or a good night’s sleep. The single most useful rule for beginners:
> Buy one to two “people” more than your actual group size.
– Solo camper → buy a 2-person tent
– Couple → buy a 3- or 4-person tent
– Family of four → buy a 6-person tent
That extra capacity gives you room to sit up, change clothes, keep your backpack inside, and not feel like you’re sleeping in a coffin. Floor space and peak height matter too — taller tents (often called “cabin” style) let you stand or kneel, which is a huge comfort upgrade for families.
Also check the vestibule — the covered area outside the inner tent door, under the rainfly. It’s where you stash muddy boots and packs so they stay dry without cluttering your sleeping space. Beginners consistently underrate how useful this is.
Seasonality and Weather Resistance Explained
You’ll see tents labeled “3-season” and “4-season.” Here’s what that actually means:
| Rating | Best For | Beginners? |
| 3-season | Spring, summer, fall; rain and light wind | ✅ Yes — buy this |
| 4-season | Winter, snow load, heavy alpine wind | ❌ Overkill and pricier |
Almost every beginner wants a 3-season tent. They’re lighter, better ventilated (less condensation on summer nights), and far cheaper. A 4-season tent is built for snow and brutal wind — features you don’t need and will pay dearly for.
Weather resistance for beginners comes down to three features:
1. Full-coverage rainfly — A fly that reaches close to the ground protects far better than a partial “cap” fly in real rain.
2. Bathtub floor — The waterproof floor material curves up the sides several inches, so water flowing across the ground can’t seep in at the seams.
3. Sealed seams + decent waterproof rating — Look for a hydrostatic head rating (measured in mm) of at least 1,500mm on the fly; 3,000mm or higher on the floor is even better.
A quick beginner tip: even a “waterproof” tent benefits from a footprint (a ground tarp cut to the tent’s shape) underneath. It protects the floor from abrasion and adds a moisture barrier.
Ease of Setup: Why It Matters Most for Beginners
If there’s one feature to prioritize, it’s this. Nothing sours a first camping trip like wrestling with a tangle of poles in the dark while rain starts falling.
What makes setup easy:
– Freestanding design — The tent holds its shape without stakes, so you can pitch it anywhere and reposition it before staking down.
– Two-pole, color-coded construction — Fewer poles, clearly matched to their sleeves or clips, means less confusion.
– Clips over sleeves — Pole clips snap on faster than threading poles through long fabric sleeves.
– Instant / pop-up options — Some tents have pre-attached poles and literally pop up in 60 seconds, though they tend to be bulkier to pack.
Practice once at home. Set up your new tent in the backyard or living room before your trip. You’ll learn the quirks in comfort, confirm no parts are missing, and pitch it twice as fast at the campsite. Every experienced camper wishes someone had told them this on day one.
Top Beginner Tent Materials and Durability Factors
You don’t need to be a materials expert, but a few terms help you compare tents intelligently:
– Polyester vs. nylon fly — Polyester resists UV sagging and is common (and cheap) on car-camping tents. Nylon is lighter and stronger but pricier; you’ll see it on backpacking models.
– Denier (D) — A measure of fabric thickness. Higher denier = tougher (and heavier). For car camping, a floor of 68D or higher shrugs off rough ground nicely. Ultralight tents drop to 15-20D, which is more delicate.
– Pole material — Aluminum poles (e.g., DAC) are stronger and more flexible than fiberglass. Cheap tents use fiberglass poles, which can splinter over time. If your budget allows, aluminum is a meaningful upgrade in longevity.
– Zippers — Often overlooked, but the #1 failure point on budget tents. Look for chunky, smooth-running zippers (YKK is a quality brand to spot).
For a beginner car-camping tent, you’re balancing durability against price. You don’t need bombproof expedition materials — you need something that survives a couple dozen weekend trips without a pole snapping.
Our Top Beginner Camping Tent Picks for 2026
Here are our recommendations across budgets and group sizes. Prices fluctuate, so check current pricing at the links.
Top Picks at a Glance
| Product | Best For | Price Range |
| Coleman Sundome | Budget first-timers | $ |
| REI Co-op Trail Hut 4 | Best all-around value | $$ |
| Kelty Discovery Basecamp 6 | Families & groups | $$ |
| Marmot Tungsten 2P | Couples who want quality | $$ |
| MSR Elixir 3 | Upgrade pick / serious beginners | $$$ |
1. Coleman Sundome — Best Budget Pick
The Sundome is the tent that’s introduced more people to camping than maybe any other. It’s a simple, freestanding dome with two color-coded poles, a partial rainfly, and Coleman’s WeatherTec floor system. It won’t survive an alpine storm, but for fair-weather summer camping it’s hard to beat the value.
Pros:
– Extremely affordable
– Pitches in about 10 minutes, even solo
– Widely available with replacement parts easy to find
Cons:
– Partial rainfly struggles in heavy, sustained rain
– Fiberglass poles less durable than aluminum
– Ventilation is just okay on hot nights
2. REI Co-op Trail Hut 4 — Best All-Around Value
This is our top overall recommendation for most beginners. The Trail Hut offers a full-coverage rainfly, two roomy vestibules, color-coded aluminum poles, and near-vertical walls for more livable space. It’s the upgrade in quality and weather protection that pays off the first time you camp in real rain — without jumping to an expensive specialty tent.
Pros:
– Full-coverage fly + bathtub floor handle real weather
– Aluminum poles and quality zippers for long-term durability
– Two doors and two vestibules — no climbing over your tentmate
– Backed by REI’s generous return policy
Cons:
– Costs noticeably more than a Coleman
– Heavier than backpacking tents (fine for car camping)
3. Kelty Discovery Basecamp 6 — Best for Families
If you’re camping with kids or a group, the Discovery Basecamp 6 gives you genuine standing-ish headroom, a big floor, and a straightforward setup. Kelty’s color-coded pole system and quick-corner attachments make pitching this larger tent much less intimidating than its size suggests.
Pros:
– Spacious enough for a family of four plus gear
– Tall walls and high peak for comfort
– Easy setup for a tent this large
Cons:
– Big and heavy packed down — strictly car camping
– Larger footprint needs a bigger, flatter campsite
Two More Worth Considering
– Marmot Tungsten 2P — A step up in materials for couples, with a “footprint included” mindset, pre-bent poles for more interior volume, and excellent weather protection in a compact package. Crosses over nicely if you ever want to try light backpacking.
– MSR Elixir 3 — The “buy once, cry once” pick. Premium build, included footprint, superb rainfly, and bombproof poles. Pricier, but if you suspect camping will become a serious hobby, it’ll outlast several cheaper tents.
Budget Tips and Common First-Time Buyer Mistakes
A little strategy saves you money and regret. Here’s what experienced campers wish they’d known:
Smart budget tips:
– Buy off-season. Tent prices drop in fall and winter. If you’re planning a spring trip, shop in January.
– Don’t over-buy on features. You don’t need a 4-season, ultralight, $500 tent for weekend car camping. Match the tent to how you’ll actually use it.
– Add a footprint or cheap tarp. A $20-30 ground sheet dramatically extends your floor’s lifespan.
– Watch for bundle deals. Some tents include a footprint, gear loft, or stakes upgrade — factor that into the real price.
Common first-time mistakes to avoid:
1. Buying exactly to capacity. A “4-person” tent is cramped for four. Size up.
2. Skipping the practice setup. Pitch it at home first — always.
3. Ignoring the rainfly. A partial fly is fine for dry summer trips but will soak you in a storm. If you camp in shoulder seasons, get full coverage.
4. Cheaping out on stakes. The flimsy stakes included with budget tents bend in hard ground. A set of quality aluminum stakes is a cheap, worthwhile upgrade.
5. Forgetting ventilation. Closing every vent traps condensation, and you’ll wake up to “rain” on the inside of your tent. Crack a vent even on cool nights.
6. Storing it wet. Pack a tent away damp and it grows mildew that ruins the fabric and smells permanently. Dry it fully at home before storage.
Our Verdict
For most beginners in 2026, the REI Co-op Trail Hut 4 is the tent to buy. It nails the three things that matter most — easy setup, real weather protection, and durable materials — at a price that’s reasonable without being throwaway-cheap. The two doors and full-coverage fly mean your first rainy trip won’t be your last.
If you’re on a tight budget or just testing whether camping is for you, start with the Coleman Sundome. It’s inexpensive, dead-simple to pitch, and perfectly capable for fair-weather summer trips — you can always upgrade later.
Camping with the family? The Kelty Discovery Basecamp 6 gives you the space and headroom to keep everyone comfortable. And if you already suspect this is going to become a lifelong hobby, spending up front on the MSR Elixir 3 or Marmot Tungsten 2P will reward you with years of dependable nights outdoors.
Whatever you choose: size up, practice your setup at home, and never store it wet. Do those three things and your first season of camping will be a great one.