Quick Answer
A good monitor stand raises your screen to eye level, reducing neck strain and freeing up desk space—essential for anyone spending 8+ hours at a computer. We recommend the BenQ SW240 AmazonBasics Monitor Riser Elgato Wave Panels XL for streamers and content creators.
The right monitor stand transforms your workspace from uncomfortable to ergonomic. This guide walks you through everything you need to know to choose one that fits your desk, budget, and work style.
—
Types of Monitor Stands Explained
Monitor stands aren’t one-size-fits-all. Understanding the main categories helps narrow down what you actually need.
Basic Monitor Risers
The simplest option—a fixed stand that elevates your monitor to a set height. These are affordable and take up minimal space, but they don’t offer adjustability. If you’re only raising your screen a few inches and don’t need flexibility, a basic riser works fine.
Best for: Small desks, budget setups, people who want a permanent, unmovable solution.
Adjustable Monitor Stands
These let you tilt, swivel, and often adjust the height of your screen. Many also pivot between portrait and landscape orientations. They’re more versatile than risers but take up more desk footprint.
Best for: Multi-monitor setups, people who switch between tasks requiring different screen angles, or anyone who wants to optimize their view throughout the day.
Monitor Stands with Storage
Risers and stands designed with built-in drawer space, shelving, or cable management underneath. You free up desk real estate while raising your monitor—a win-win if your desk is cramped.
Best for: Small home offices, users with limited desk space, anyone who wants organized cable management.
Gas-Cylinder Monitor Arms vs. Fixed Stands
While not technically “stands,” single-monitor articulating arms deserve mention here. They mount to your desk or wall and offer the most flexibility for height, depth, and rotation. However, they cost more and require proper installation.
Best for: Standing desks, multiple monitors, professionals who constantly adjust their setup.
—
Key Features to Look For in a Monitor Stand
Before you buy, focus on these critical specs:
Height Adjustment Range
Most monitors should sit with the top of the screen at eye level when you’re seated. This typically means the stand’s height adjustment should reach at least 4-6 inches. Check your monitor’s native height and the stand’s adjustment range to make sure they align.
Weight Capacity
This matters more than you’d think. A 27-inch 4K monitor weighs more than a 24-inch 1080p screen. Always verify the stand’s maximum weight capacity exceeds your monitor’s weight by at least 5 lbs. Undersized stands tip or wobble.
Stability and Anti-Slip Base
A wobbly monitor is a distraction and a safety hazard. Look for stands with a wide base, rubber feet, and low center of gravity. If you’re in an earthquake zone or have pets that jump on desks, this becomes even more critical.
Cable Management
Stands with clips, channels, or loops for hiding power cords and USB cables make your desk look cleaner and prevent cables from dangling awkwardly.
Material and Build Quality
Plastic risers are cheap but feel cheap. Metal stands (aluminum or steel) feel more solid and tend to last longer. If you move desks frequently, durability matters.
Desk Space Footprint
Consider both width and depth. A stand that protrudes 8 inches back eats into your usable desk space. Shallow stands work better on cramped desks.
—
Best Monitor Stands by Budget and Use Case
Budget-Friendly Option: Under $50
AmazonBasics Monitor Riser
The AmazonBasics line offers bare-bones functionality: it raises your monitor, it’s stable, and it won’t break the bank. Available in black and white, it works with monitors up to 32 inches and has a weight capacity around 40 lbs.
– Pros: Affordable, holds small to medium monitors securely, minimal desk footprint
– Cons: No height adjustability, plastic construction, no cable management features
Best for: Students, freelancers on a tight budget, anyone wanting a simple elevation without frills.
—
Mid-Range Option: $50-$150
BenQ SW240 Premium Monitor Stand
BenQ is known for high-quality displays, and their stands reflect that. The SW240 includes height adjustment (up to 150mm), tilt, pivot, and swivel—all the ergonomic features you need. It supports monitors up to 30 inches and holds up to 10 kg (22 lbs).
– Pros: Comprehensive adjustability, professional build quality, cable management slots, VESA mount compatible
– Cons: Requires assembly, heavier than basic risers (makes moving desks harder), slightly more desk depth needed
Best for: Professionals working long hours, people who switch between monitor heights, anyone who values ergonomics.
—
Premium/Specialty Option: $150+
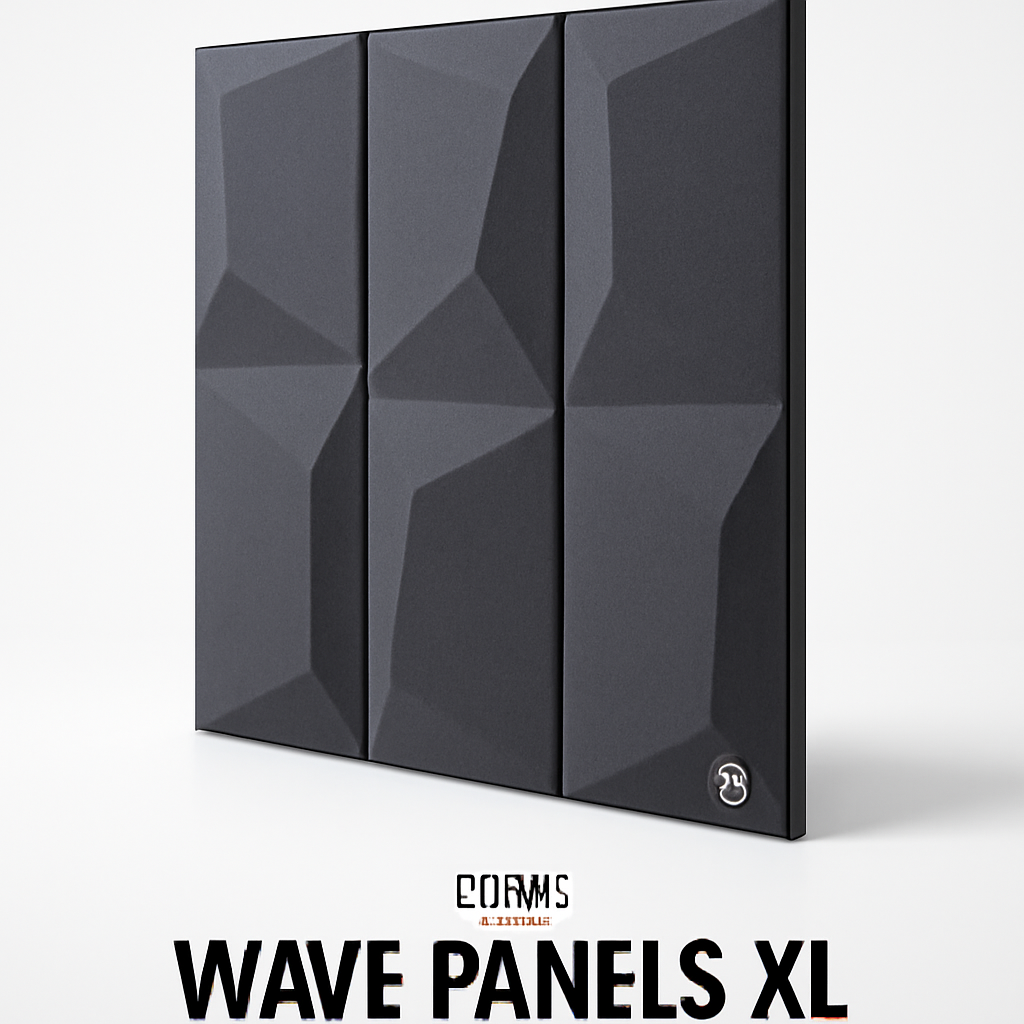
Elgato Wave Panels XL Monitor Stand
Designed with content creators in mind, the Elgato stand combines a monitor riser with modular acoustic panels. It raises your monitor while helping you manage sound in your streaming setup. The panels are tool-free to attach/remove, and the stand holds monitors up to 35 inches.
– Pros: Dual-purpose (raises monitor + acoustic treatment), aesthetically designed, very stable base, cable clips integrated
– Cons: Premium pricing, overkill for basic office work, the panels add depth to your setup
Best for: Streamers, podcasters, YouTubers, anyone treating their desk as a broadcast station.
—
Another Solid Mid-Range Pick: Fully Jarvis Monitor Stand
Fully manufactures premium standing desks, and their monitor stand reflects that quality. It features smooth height adjustment (gas-spring mechanism), supports dual monitors, and includes cable management. It’s heavier than most but incredibly stable.
– Pros: Dual-monitor support, smooth height adjustment, commercial-grade durability, integrated cable clips
– Cons: Higher price than single-monitor stands, overkill if you only have one screen
Best for: Dual-monitor setups, office managers buying for multiple employees, professionals wanting a long-term investment.
—
Top Picks at a Glance
| Product | Best For | Price Range | Key Differentiator |
| AmazonBasics Monitor Riser | Budget-conscious users | Under $50 | Ultra-affordable, simple |
| BenQ SW240 | Professionals, long work hours | $80-$120 | Full adjustability, professional quality |
| Elgato Wave Panels XL | Streamers, content creators | $150-$200 | Built-in acoustic panels |
| Fully Jarvis Monitor Stand | Dual-monitor setups | $120-$180 | Premium build, smooth adjustment |
—
Monitor Stand vs. Monitor Arm: Which Is Right for You?
Confused between a stand and an arm? Here’s the breakdown:
Monitor Stands (Fixed or Adjustable)
What they are: Structures that sit on your desk, under your monitor, raising it to eye level.
Pros:
– No installation required (mostly)
– Works with any monitor
– Portable—move to a new desk easily
– Affordable
– Stable for heavy monitors
Cons:
– Less flexible than arms
– Takes up desk footprint
– Can’t swing monitors side to side (unless specifically designed)
Monitor Arms (Gas-Cylinder Articulating)
What they are: Mechanical arms that clamp or screw to your desk/wall and hold your monitor on an adjustable joint.
Pros:
– Maximum flexibility (full 360° rotation)
– Saves desk space (monitor floats)
– Great for standing desks
– Can position monitor precisely for your sightline
Cons:
– Installation can be tricky
– Require desk space/thickness for clamping
– Higher cost
– Not ideal for very heavy monitors without reinforced arms
The Verdict: When to Choose Each
Choose a stand if:
– You have a small desk with nowhere to mount an arm
– You want a plug-and-play solution
– Your monitor is very heavy (27+ inches, 4K)
– You move desks frequently
Choose an arm if:
– You value flexibility and fine-tuning
– You have a standing desk
– You use multiple monitors
– Your desk can accommodate the clamp
—
How to Choose the Right Height and Size for Your Setup
Getting height and size right is the difference between comfort and a sore neck.
Proper Monitor Height
The top of your monitor should be at, or slightly below, eye level when seated upright.
– Measure from your floor to your eyes when sitting at your desk (typically 48-50 inches)
– Subtract 2-4 inches (monitor height should be 44-48 inches from floor)
– Check if your stand + monitor naturally reaches this height
– If not, look for adjustable stands
Pro tip: If you alternate between sitting and standing throughout the day, prioritize stands with a larger height range (8+ inches of adjustment).
Monitor Size Recommendations
Bigger isn’t always better. Consider these factors:
| Desk Depth | Recommended Monitor Size | Viewing Distance |
| 20-24 inches | 21-24 inches | 24-30 inches |
| 24-30 inches | 24-27 inches | 28-36 inches |
| 30+ inches | 27-32 inches | 30-40 inches |
– 4K monitors (27″+): Require greater viewing distance; don’t place too close
– Ultrawide monitors (34″+): Need more width accommodation; ensure your stand is wide enough
– Multiple monitors: Total width = width of all screens + stand width + gaps between monitors
Distance Metrics
Measure the distance from your eyes to the monitor when sitting normally. Common recommendations:
– 24-inch monitors: 24-30 inches away
– 27-inch monitors: 30-36 inches away
– 32-inch monitors: 36-40 inches away (or larger)
—
Installation and Compatibility Guide
VESA Mounting Standard
Most modern monitors use VESA mounting, a standardized pattern of four holes on the back of the monitor. Common VESA sizes: 75x75mm, 100x100mm, 200x100mm.
Check your monitor’s VESA size before buying. It’s in the manual or on the spec sheet. Most mid-range stands support multiple VESA sizes (usually 75×75 and 100×100).
Step-by-Step Installation
For basic risers:
1. Unbox and place on your desk
2. Slide your monitor on top
3. Secure with VESA screws (if applicable)
4. Adjust tilt if available
5. Done
For adjustable stands:
1. Assemble base (usually 2-4 screws)
2. Attach monitor bracket to the stand
3. Secure your monitor to the bracket using VESA screws
4. Set height and angles
5. Test stability before loading cable clutter
For arms:
1. Identify mounting point (desk clamp or wall mount)
2. Install clamp/bracket securely
3. Attach arm to clamp
4. Install monitor onto arm plate
5. Calibrate balance and test articulation
Cable Management During Install
– Route power cables through integrated clips before tightening everything
– USB cables should loop beneath or behind the stand
– Use velcro straps or cable ties to bundle wires
– Leave some slack—you’ll adjust monitor position again eventually
—
Top-Rated Monitor Stands for Home Office Workers
If you work from home and want comfort + function, here’s what works:
For Long Work Hours (8+ hours/day)
Best choice: BenQ SW240
The full adjustability (height, tilt, swivel, pivot) means you can fine-tune your viewing angle throughout the day. The professional build quality means it won’t wobble or degrade after years of use. Cable management is thoughtfully integrated.
Alternative: Fully Jarvis Monitor Stand if you use two monitors (or plan to).
For Small Desks
Best choice: AmazonBasics Monitor Riser
Takes minimal space, costs minimal money, does the job. If your desk is 24 inches deep or less, this is the right call.
Alternative: Look for “slim monitor stands” that are specifically designed with shallow depth (under 6 inches).
For Hybrid Sit/Stand Desks
Best choice: A stand with 8+ inches of height adjustment, or consider a monitor arm instead.
Standing desks move up and down throughout the day. A fixed stand won’t stay at eye level when you stand. The BenQ SW240 offers decent range, but an arm like the Fully Jarvis (which has gas-spring smooth adjustment) is more ideal for this use.
For Aesthetic/Brand-Conscious Setups
Best choice: Elgato Wave Panels XL
If you’re photographing or streaming your desk (or just want it to look polished), Elgato’s design language is sleek and modern. The integrated panels look intentional, not haphazard.
—
Our Verdict
The best monitor stand for you depends on your desk size, budget, and work style—but the fundamentals are the same:
1. Buy a stand that raises your monitor to eye level. This is non-negotiable for neck health.
2. Ensure it has enough weight capacity for your monitor size.
3. Prioritize stability. A wobbly screen is worse than no stand.
4. Consider adjustability. Even $10-20 more for height/tilt options pays off in comfort.
Our 2026 recommendations:
– If you have $40: AmazonBasics Monitor Riser. It’s affordable, it works, and your neck will thank you.
– If you have $80-120: BenQ SW240. The adjustability is worth the extra spend, and the build quality is professional-grade.
– If you have $150+: Either Elgato Wave Panels XL (if you stream/create) or Fully Jarvis (if you use dual monitors).
The monitor stand is one of the cheapest ergonomic upgrades you can make to your home office. Don’t overthink it—get one that fits your space and budget, and you’ll notice the difference immediately. Your monitor will be at eye level, your desk will be more organized, and your neck will stop hurting by day three.
Ready to upgrade? Start by measuring your desk depth, checking your monitor’s weight and VESA size, and picking a stand from the tiers above. You’ll be set up in under an hour.