# Best Monitor Arms 2026 | Top Picks for Home Office
Quick Answer
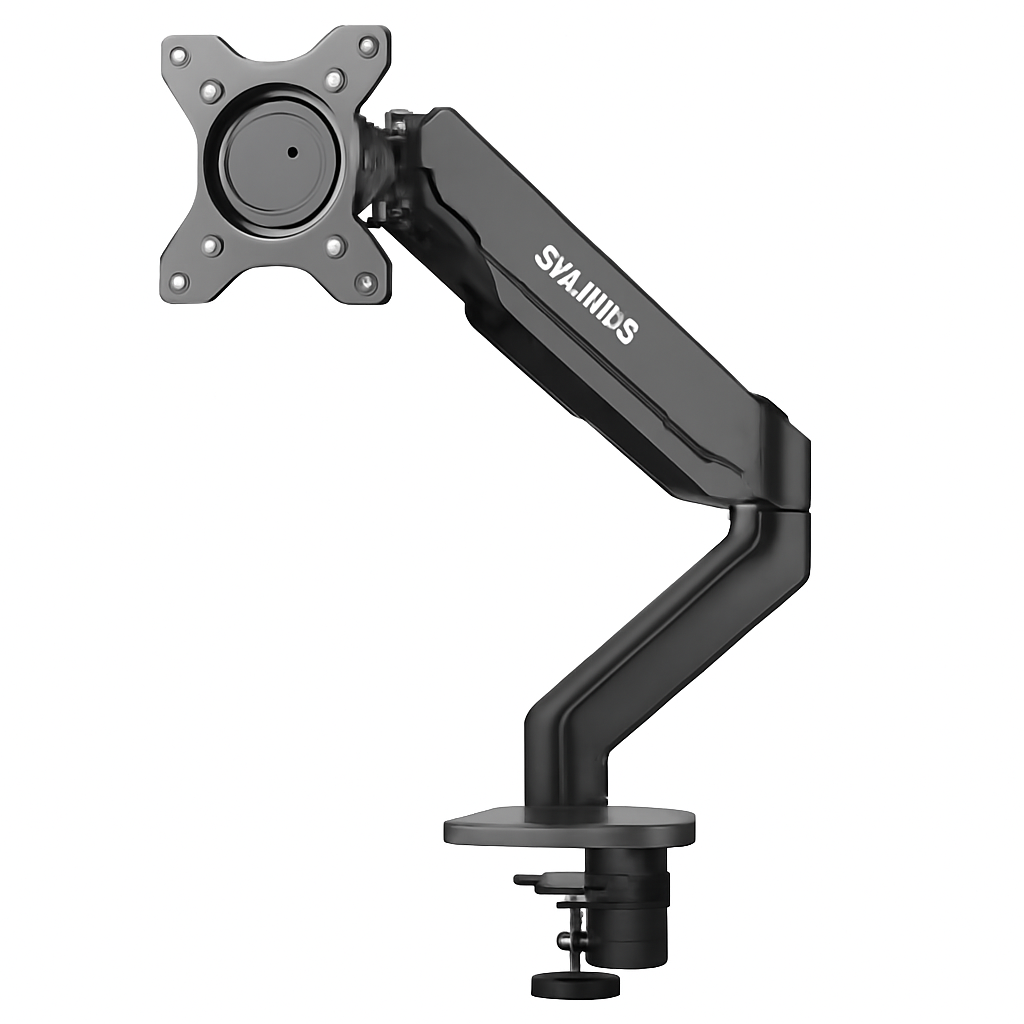
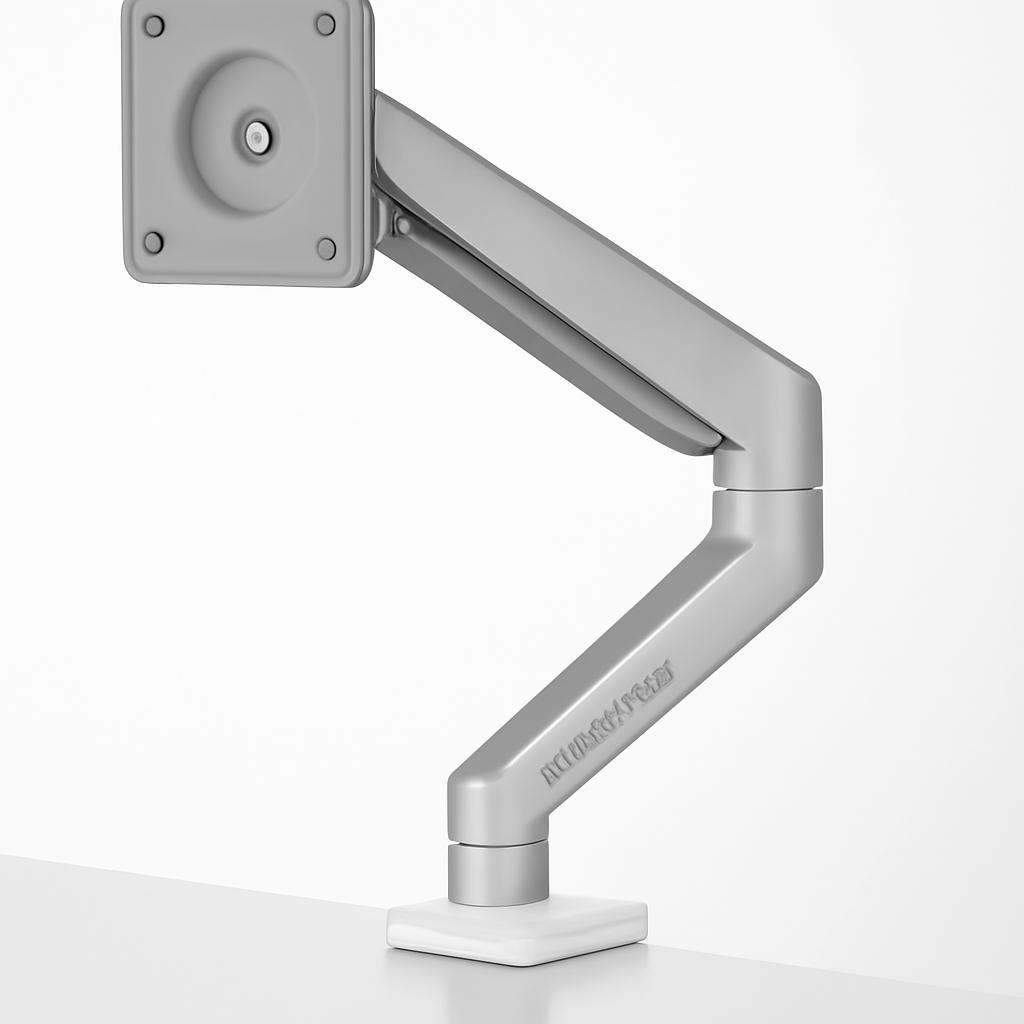
A quality monitor arm can transform your workspace by freeing up desk space, improving posture, and reducing neck strain. The best options in 2026 balance adjustability, build quality, and weight capacity with your budget. Premium picks like the Herman Miller Monitor Arm CHECK PRICE] offer exceptional durability, while budget-conscious buyers should consider the [HUANUO Monitor Arm [CHECK PRICE]. Most setups benefit from single-monitor arms, but dual-arm solutions work for power users and traders.
—
What to Look for in a Monitor Arm
Before you start shopping, understand what makes a monitor arm worth buying. A bad choice means wasted money and back pain. Here’s what actually matters:
Load Capacity and VESA Compatibility
The first thing to check: Can it hold your monitor? Every monitor arm lists a weight range (typically 4–27 lbs). Measure your monitor’s actual weight, then add a small buffer for safety—don’t buy an arm rated for exactly your monitor’s weight.
Next, check VESA compatibility. VESA is the standard mounting pattern on the back of most monitors. Common sizes are 75x75mm and 100x100mm. Your monitor’s manual will specify this. Most modern arms support multiple VESA patterns, but always verify.
Range of Motion
A good monitor arm should adjust in multiple directions:
– Height adjustment: Typically 5–7 inches of vertical range
– Tilt: Forward/backward angle control
– Swivel: Rotate the monitor side-to-side
– Rotation: Portrait to landscape switching (optional but nice)
If your arm lacks adequate height adjustment, you can’t position the screen at eye level—a primary cause of neck pain.
Arm Construction and Material
Gas spring tension is what holds your monitor in place. Cheaper arms use fixed tension; better ones let you adjust how easily the monitor moves. You want it to stay put without being impossible to reposition.
Look for aluminum or steel construction. Plastic-heavy arms feel cheap and often fail within a year.
Desk Mounting Options
Monitor arms mount three ways:
1. Clamp mount: Grabs the desk edge. No drilling. Best for renters.
2. Grommet mount: Threads through a desk hole. Most stable but requires a Ⅲ-inch hole.
3. Bolt-through: Bolts to the underside of your desk. Permanent and rock-solid.
Most people use clamp mounts—they’re fast, reversible, and effective on desks up to 3 inches thick.
—
Best Premium Monitor Arms for 2026
If you spend 8+ hours a day at a desk, investing in premium equipment pays for itself in reduced pain and better productivity.
Herman Miller Monitor Arm [CHECK PRICE]
Best for: Professionals prioritizing ergonomics and longevity
Herman Miller is the gold standard in office furniture, and their monitor arm is no exception. This arm combines Swiss-made precision engineering with thoughtful ergonomic design.
Key features:
– Supports monitors 10–30 lbs
– Full VESA compatibility (75x75mm and 100x100mm)
– Counterbalance spring adjusts to your specific monitor weight
– Grommet and clamp mounting options included
– 12-year warranty
The Herman Miller arm feels substantially better than budget alternatives. The springs are precisely calibrated, so you adjust your monitor effortlessly without it drifting. The finish looks professional, and the build quality suggests it’ll outlast three office chairs.
Cons:
– Premium pricing (expect mid-range three figures)
– Overkill for casual home users
– Less flashy than gaming-focused arms
—
Ergotron LX Monitor Arm [CHECK PRICE]
Best for: Multi-tasking professionals and traders
Ergotron makes monitor arms for hospitals, trading floors, and corporate environments. Their LX model is the workhorse of monitor arms—boring, reliable, and devastatingly functional.
Key features:
– Supports up to 32 lbs (one of the highest capacities available)
– Ultrawide monitor compatible
– Tool-free height and depth adjustment
– Integrated cable management
– 10-year warranty
The LX performs. Period. It doesn’t have gimmicks—just rock-solid engineering. If you’re running three screens or a massive ultrawide, the Ergotron LX handles the weight without hesitation.
Cons:
– Industrial aesthetic (doesn’t match minimalist setups)
– Higher price point
– Slightly heavier/bulkier than aesthetic alternatives
—
Humanscale M8 Monitor Arm [CHECK PRICE]
Best for: Clean aesthetic + serious functionality
Humanscale’s M8 splits the difference between Herman Miller’s luxury and Ergotron’s industrial feel. It’s design-forward without sacrificing usability.
Key features:
– Supports 10–30 lbs
– Sleek aluminum construction
– Smooth, effortless adjustability
– Available in multiple colors
– 10-year warranty
This arm looks like it belongs in a modern office. The build quality matches Herman Miller, but the price lands a tier below. If you care how your desk looks, the M8 won’t embarrass you on a Zoom call.
Cons:
– Still expensive compared to budget options
– Not ideal for ultrawide monitors (weight capacity is moderate)
—
Best Budget-Friendly Monitor Arms
You don’t need to spend $300+ to solve your monitor positioning problem. These arms deliver solid performance for under $100.
HUANUO Monitor Arm [CHECK PRICE]
Best for: Tight budgets and single-monitor setups
HUANUO dominates the budget category on Amazon and rightfully so. For under $50, you get an arm that actually works.
Key features:
– Supports 4–26 lbs
– Full range of motion (height, tilt, swivel, rotation)
– Gas spring counterbalance adjustment
– Clamp and grommet mounting included
– VESA 75/100 compatible
At this price point, the HUANUO punches above its weight. Users consistently report it holds position well, and the build doesn’t feel flimsy. The adjustment range is solid, and you get both mounting options.
Cons:
– Plastic components in high-stress areas
– Taller users may find height range insufficient
– Warranty shorter than premium options
—
AmazonBasics Monitor Arm [CHECK PRICE]
Best for: Minimalists and light-load applications
Amazon’s in-house brand has surprisingly competent monitor gear. Their basic arm is lightweight, simple, and does exactly what it promises.
Key features:
– Supports up to 22 lbs
– Full adjustment range
– Clamp mount (no grommet included)
– One-year warranty
– Compact footprint
This arm won’t impress anyone, but it won’t frustrate you either. If you have a standard 24-inch monitor and just need to get it off your desk, this works. It’s a set-it-and-forget-it solution.
Cons:
– No grommet option
– Limited color/style options
– Below-average cable management
—
NB North Bayou Monitor Arm [CHECK PRICE]
Best for: Desk space maximization
North Bayou makes gas-spring monitor arms specifically engineered for minimizing desk footprint. If you have limited space, this is worth consideration.
Key features:
– Supports 4–27 lbs
– Extremely compact mount base
– Full range of motion
– Multiple mounting styles available
– 5-year warranty
Users love the space-saving design. The arm manages to fit on the tightest desks while still offering full adjustability.
Cons:
– Less sturdy base than larger alternatives
– Potential stability issues with heavier monitors
– Build quality noticeably less refined than premium options
—
Comparison Table: Top Monitor Arms for 2026
| Product | Best For | Weight Capacity | Price Range | Key Advantage |
| Herman Miller Monitor Arm | Premium ergonomics | 10–30 lbs | $$$$ | 12-year warranty, precision engineering |
| Ergotron LX | Heavy/ultrawide monitors | Up to 32 lbs | $$$ | Highest capacity, industrial-grade |
| Humanscale M8 | Aesthetic + function | 10–30 lbs | $$$ | Design-forward, smooth adjustability |
| HUANUO Monitor Arm | Budget single-monitor | 4–26 lbs | $ | Solid performance under $50 |
| AmazonBasics Monitor Arm | Minimalist users | Up to 22 lbs | $ | Simple, affordable, reliable |
| NB North Bayou | Space maximization | 4–27 lbs | $$ | Smallest footprint available |
—
Single vs. Dual Monitor Arms: Which Is Right for You?
When a Single Arm Makes Sense
Get a single-monitor arm if:
– You primarily work with one application at a time
– Your desk space is limited
– You’re upgrading an existing single-monitor setup
– You don’t need to compare documents/data across screens
A single arm saves money and desk real estate. You’ll spend $40–400 depending on your budget tier, and you’ll gain valuable space underneath for keyboards, cables, or just air.
When Dual Monitor Arms Are Worth It
Dual arms make sense if:
– You’re a trader, coder, or analyst (multiple data sources constantly visible)
– You’re a content creator juggling multiple applications
– You do video editing or 3D work (preview window + timeline window)
– You have a desk deep enough (minimum 24 inches front-to-back)
Dual-arm solutions cost about 60% more than a single arm (you’re not buying two separate arms). Most dual arms share a single base, which keeps the footprint manageable.
The Ergotron LX dual-monitor arm [CHECK PRICE] is excellent if you go this route. It handles two monitors up to 32 lbs each and costs far less than buying two single arms.
—
Ergonomic Benefits and Health Considerations
This is the real reason to buy a monitor arm. Let’s talk about what proper monitor positioning actually does for you.
The Ideal Monitor Position
Your monitor should sit:
– Eye level or slightly below (top of screen at or just below eye level)
– Arm’s length away (about 20–26 inches)
– Directly in front of you (not rotated, not off to the side)
When your monitor sits too low, you crane your neck downward for 8+ hours daily. When it’s too high, you extend your neck backward. Both positions cause cervical strain, tension headaches, and long-term spinal issues.
Real Health Impact
Studies consistently show that proper monitor height reduces neck and shoulder pain by 30–40%. You might think that’s incremental, but living pain-free is life-changing.
Additionally, proper monitor positioning:
– Reduces eye strain (easier to focus at correct distance)
– Improves posture (reduces slouching when screen is at eye level)
– Decreases repetitive strain injuries (RSIs) in arms and wrists
– Boosts productivity (less time spent adjusting, more time working)
Monitor Arm Ergonomics: Premium vs. Budget
Here’s an honest truth: A $50 HUANUO arm positions your monitor correctly if you adjust it properly. A $300 Herman Miller arm does the same thing.
The difference is ease and precision. Premium arms:
– Hold position with zero drift
– Adjust smoothly without requiring herculean effort
– Have finer incremental adjustment
– Stay put for years without degradation
If you move your monitor daily (different desk heights, standing desk switching), premium arms save you frustration. If you set it once and leave it, budget arms are perfectly adequate.
—
Installation and Compatibility Guide
Pre-Installation Checklist
Before you order, verify:
1. Monitor weight: Check your monitor’s manual or specifications. Don’t guess.
2. VESA pattern: Confirm your monitor has a VESA mount. Most do, but some don’t (especially all-in-ones and displays under 20 inches).
3. Desk thickness: Measure your desk edge. Most clamp arms work on desks 0.6–3.0 inches thick.
4. Desk material: Solid wood or laminate is fine. Glass desks are problematic (clamps can slip).
5. Space clearance: Ensure your desk has 2–3 inches clearance under the arm’s base for cable routing.
Installation Steps (Clamp Mount)
1. Attach the base: Position the clamp at the back edge of your desk. Tighten the clamp screw hand-tight (don’t overtighten—it can warp thin desks).
2. Install the arm: Slide the gas spring arm into the base and secure the locking pin.
3. Attach the monitor: Locate your monitor’s VESA mounting plate (usually on the back, covered by a plastic piece). Screw the monitor bracket to your monitor, then attach to the arm.
4. Adjust tension: Find the small screws/knobs on the gas spring. Adjust these until your monitor stays at its weight without drifting.
5. Run cables: Route power and video cables through the arm’s cable clips or behind the arm to keep things tidy.
Grommet Mount Installation
If your desk has a ⅜-inch hole:
1. Remove the grommet adapter from the arm base.
2. Insert the adapter through the desk hole.
3. Screw the base to the adapter from underneath.
4. Proceed with arm and monitor installation (steps 2–5 above).
Grommet mounts are more stable than clamps, especially on narrower desks.
Compatibility Issues and Solutions
“My monitor bracket doesn’t fit the VESA pattern”
→ Use a VESA adapter plate. These cost $15–25 and bridge incompatible sizes.
“My monitor is too heavy”
→ Buy an arm with higher weight capacity, or use two single arms (one per monitor) instead of upgrading to a heavier-duty dual arm.
“The arm doesn’t reach the height I need”
→ Add a monitor riser stand under the arm base (adds 4–6 inches) or use a monitor stand instead of an arm.
“The clamp slips on my glass desk”
→ Switch to a grommet mount, or use adhesive anti-slip pads under the clamp base.
—
Monitor Arm Accessories to Enhance Your Setup
A monitor arm is just the start. These add-ons multiply the value:
Cable Management Clips and Sleeves
Why you need this: Dangling cables look unprofessional and catch on moving parts.
Look for arms with integrated cable clips (most do). If yours doesn’t, buy a separate cable management sleeve ($10–20). The Ergotron LX and Herman Miller arm both have excellent integrated solutions.
Monitor Light Bars
A monitor light bar mounts above your monitor to eliminate screen glare without creating harsh shadows on your desk. Brands like BenQ and LG make these specifically for this purpose [CHECK PRICE].
They’re not essential, but if you spend extended hours at a screen, they meaningfully reduce eye fatigue.
Keyboard Trays (Integrated with Arms)
Some premium arms include adjustable keyboard trays. If you find adjusting your monitor arm and keyboard separately tedious, look for integrated solutions. The Herman Miller Monitor Arm pairs well with their keyboard tray system.
Anti-Vibration Dampeners
If your arm picks up vibrations from other devices (a wobbling desk when someone walks by), adhesive rubber bumpers ($5–10) solve this instantly.
Monitor Stands for Future Upgrades
Buy an arm-compatible monitor stand base if you think you’ll need to switch from arm mounting to stand mounting later. These cost $20–40 and save you from buying a whole new stand.
—
Pros and Cons: Top Picks Compared
Herman Miller vs. HUANUO: The Value Question
| Aspect | Herman Miller | HUANUO |
| Price | $$$$ | $ |
| Build Quality | Swiss precision | Functional plastic hybrid |
| Warranty | 12 years | 1–2 years |
| Ease of Adjustment | Effortless, no drift | Good, occasional minor drift |
| Best For | All-day professionals | Budget-conscious users |
| Lifespan | 10+ years | 4–6 years |
The verdict: If you work 8+ hours daily, the Herman Miller earns back its premium cost in pain reduction and durability. If you’re testing a standing desk setup or have a tight budget, the HUANUO delivers 80% of the benefit at 15% of the cost.
Ergotron LX vs. Humanscale M8: Capacity vs. Aesthetics
| Aspect | Ergotron LX | Humanscale M8 |